
Yoga is the Sanskrit word for yoke, which means to “bring together.” The goal of yoga is to bring the body and mind together through breathing, meditation, and a series of poses called asanas with the intention of making you more self-aware as to what is going on both physically and mentally.
Yoga can also help reduce stress, relieve anxiety, improve sleep and flexibility, and help reduce the symptoms lower back pain. Chief among those areas of the body is the low back.
Tips Before Beginning Yoga Exercises
Before beginning any sort of exercise regimen, it’s a good idea to speak to a healthcare provider about your back pain first.
Be aware, however, that you should never feel pain in yoga. Instead, you should feel what’s called the “good hurt” or “going to your edge,” meaning you want to stretch yourself both physically and mentally to a place that might be outside your comfort zone but not so far outside that you ignore the warning bells going off in your head and your body screaming for you to stop. Yoga is an exploration, meant to make you feel more relaxed and at ease within your own body, and that includes finding ease from your lower back pain.
If your back pain is preventing you from moving, you can also try our Back & Neck Relief Ointment to help take the edge off. It can be applied before, during, or after a workout.
Relieve your back pain naturally before or after yoga >>

Best Yoga Poses for Lower Back Pain
The following poses are listed so they can be done in a sequence, with one pose flowing easily into the next.
1. Reclined supine twist
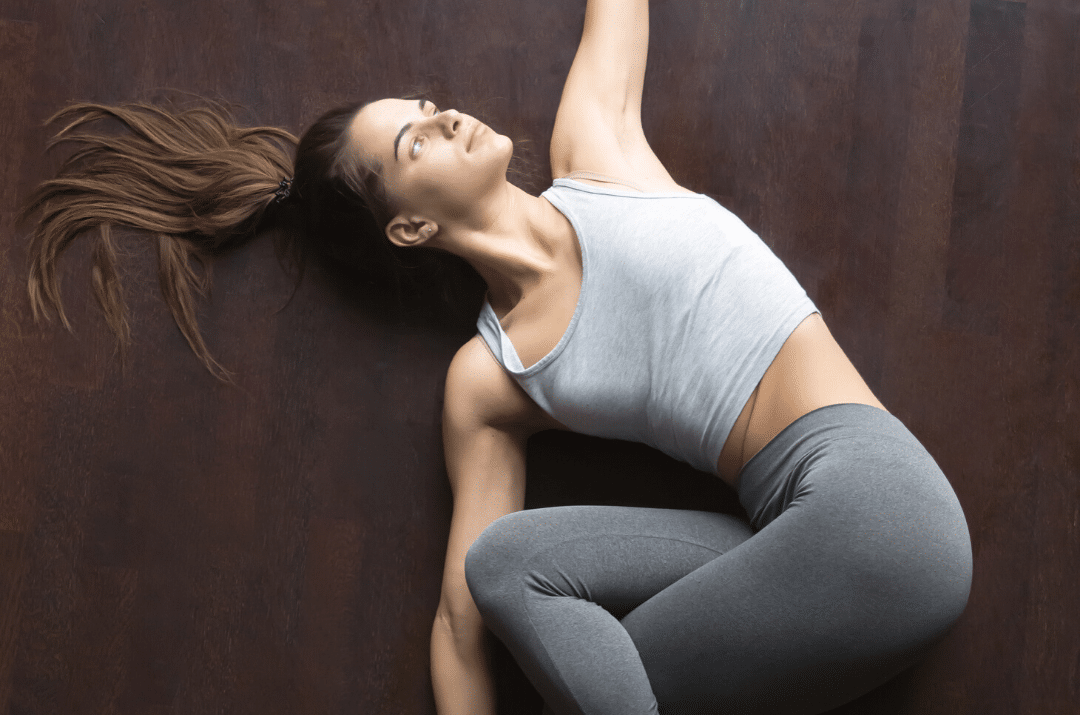
A reclined supine twist provides a great stretch if your lower back is tight. If you find the action of twisting places more strain on your back, stop doing the pose. Instead, you can lie comfortably on your back and draw both knees in toward the chest, giving yourself a stretch that way.
To perform Reclined Supine Twist:
- Begin by laying on your back. Extend your arms either straight off the shoulders or bend at the elbows in a cactus or goal-post pose.
- Draw the knees in toward the chest and drop them to the right. If the knees have trouble touching down, place a pillow or a yoga block under the bottom knee, bringing the floor up to meet you. You want to be able to relax into this pose.
- Try and release the left shoulder closer to the floor (it’s okay if it doesn’t touch down all the way).
- Notice if the head wants to crank way back in this position. If it does, place a rolled towel or blanket under the head to create more of a straight line with the spine.
- Remain here for about a minute before drawing the knees up through the center and over to the other side, holding for one minute there.
2. Cat/cow pose
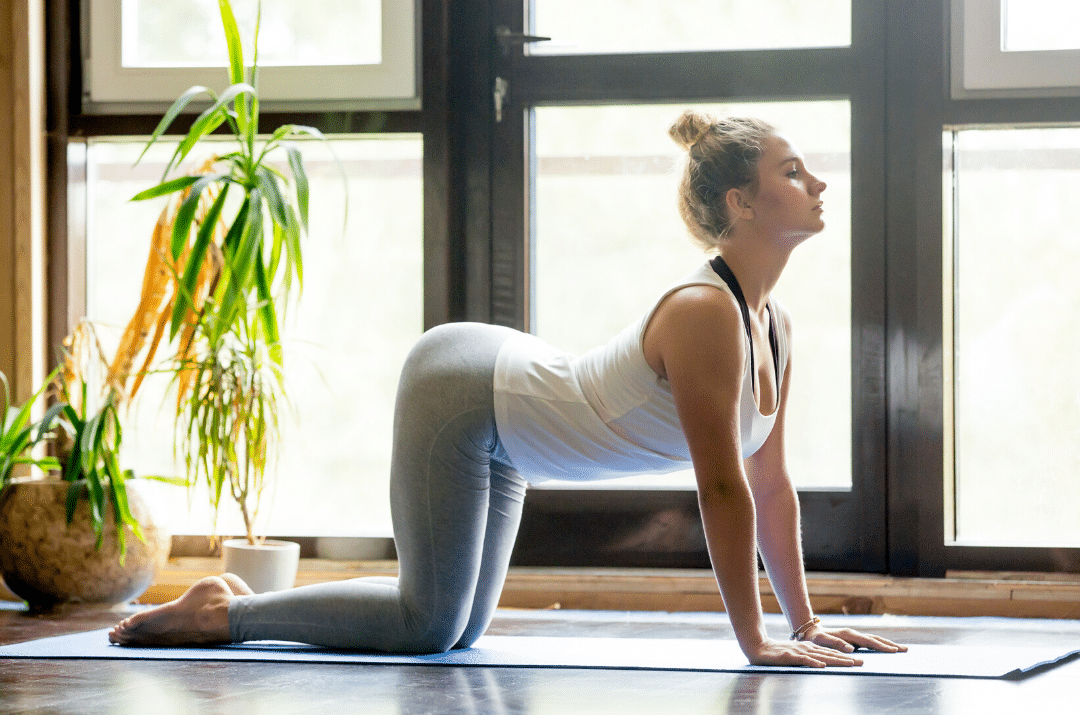
Cat and Cow poses go hand-in-hand in most any yoga class. Usually performed early on in a sequence, they are often done to loosen and warm up the body before moving through more rigorous postures. Both poses are wonderful in providing lower back pain relief, but cat pose feels especially great if you’re experiencing pain or feeling tight.
To perform this exercise:
- Come onto all fours in a tabletop position with your knees directly under the hips and the wrists directly under the shoulders.
- As you exhale, round your spine, tucking the tailbone and tucking the chin, dropping the crown of the head toward the floor. This is the Cat pose.
- Next, on an inhale, reverse the move, dropping your belly toward the floor, and lifting your tailbone, chest, and face toward the sky. This is Cow pose.
- Moving with your breath, perform both poses about five to seven times each.
3. Child’s pose
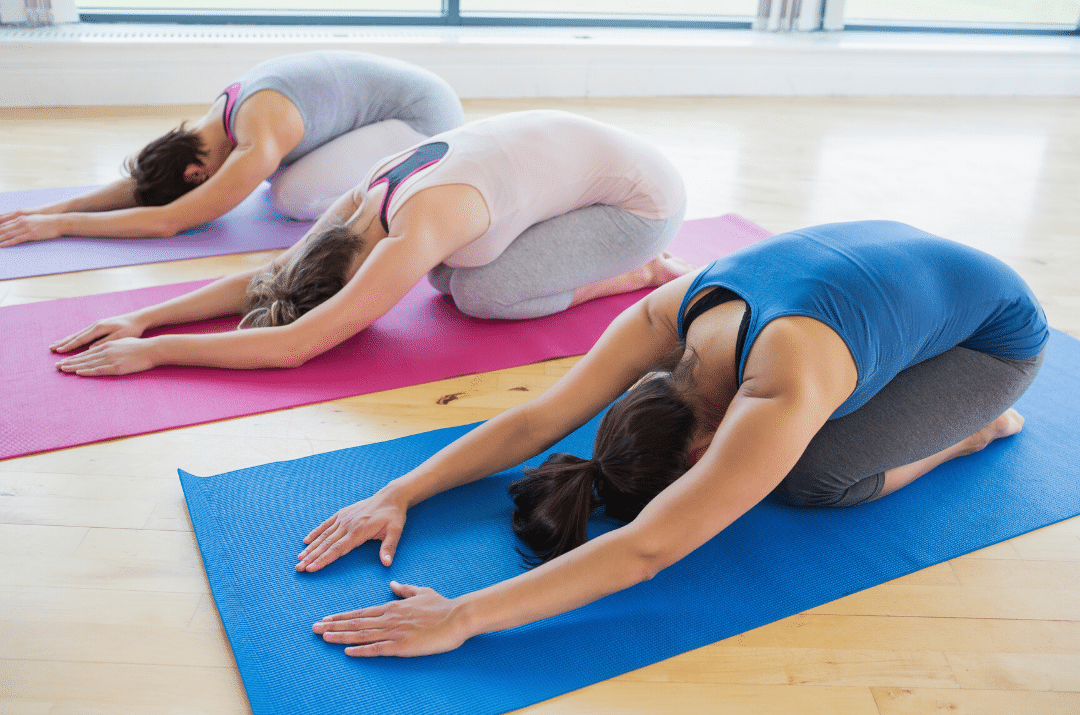
In yoga, Child’s pose is considered a resting posture. If ever you’re feeling tired or need a break during a yoga class, you’re urged to drop into this pose, and the same can be said in your everyday life, especially if you need to give your lower back a break. It not only gives the low back a lovely stretch, but it also lengthens and decompresses the spine.
To perform this exercise:
- From that tabletop position (above) you established during Cat/Cow pose, bring your feet together and press back to sit on your heels, laying your torso on your legs.
- Bring your forehead to rest on the floor and extend your arms long overhead, making sure to plug the arms into their sockets – don’t let your shoulders hike up toward your ears. You don’t want to add shoulder or upper back pain to the mix!
- For some, keeping the legs closer together can be uncomfortable. If you feel like that’s the case, keep your feet together but take your knees out wide so you can fit your torso into that space you created.
- To deepen the stretch, tuck your tailbone and lengthen the crown of the head, maybe walking the hands a little farther out in front of you.
- Remain in this pose for up to three minutes.
4. Downward-facing dog
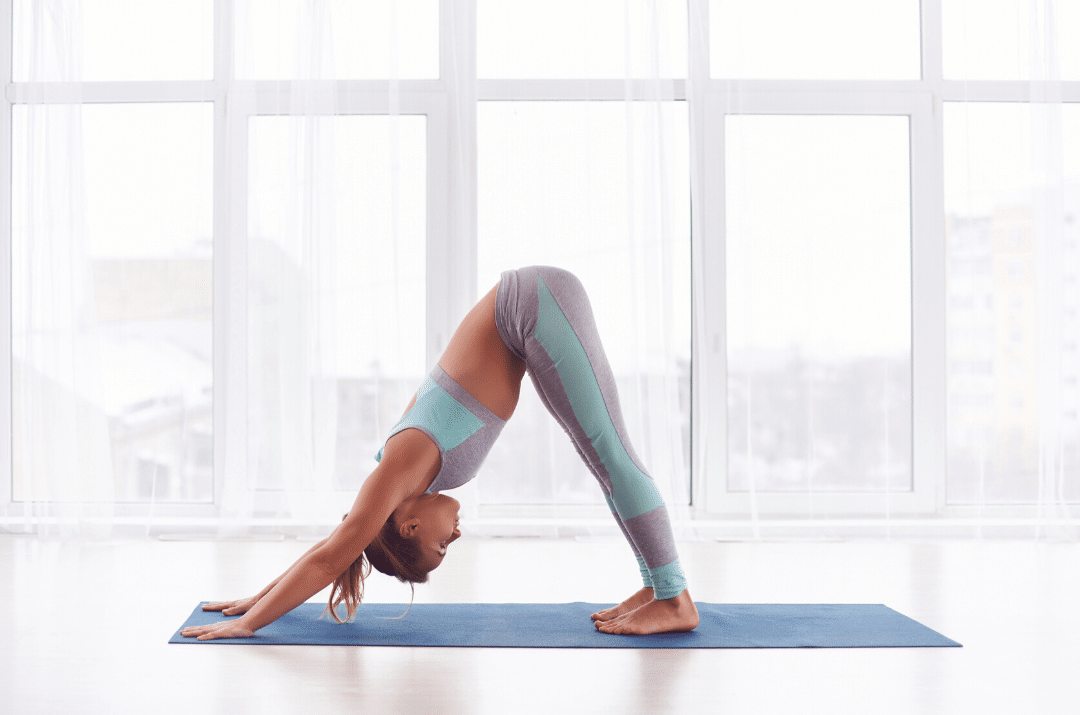
Downward-facing Dog is another yoga pose that’s considered a resting posture, but ask any beginner yogi, and they’ll beg to differ. This can be tiresome on your arms. Regardless, Downward-facing Dog, or Down-dog, for short, is a wonderful posture that stretches the hamstrings, which can relieve pressure on the lower back, as well as elongates and decompresses the whole spine.
To perform this exercise:
- Again, from a tabletop position, tuck your toes under and lift your hips toward the sky. You should look like an upside-down “V.”
- Your hands should be shoulder-width apart and you want to press into the floor equally with each finger, especially with the middle knuckle of each finger.
- Shoulders should be down away from the ears and you want to lift your tailbone toward the sky.
- Feel free to “walk your dog” by peddling the feet, pressing one heel toward the floor and then the other.
- Another option is to remain still in Down-dog and breathe for five breaths.
5. Plank pose
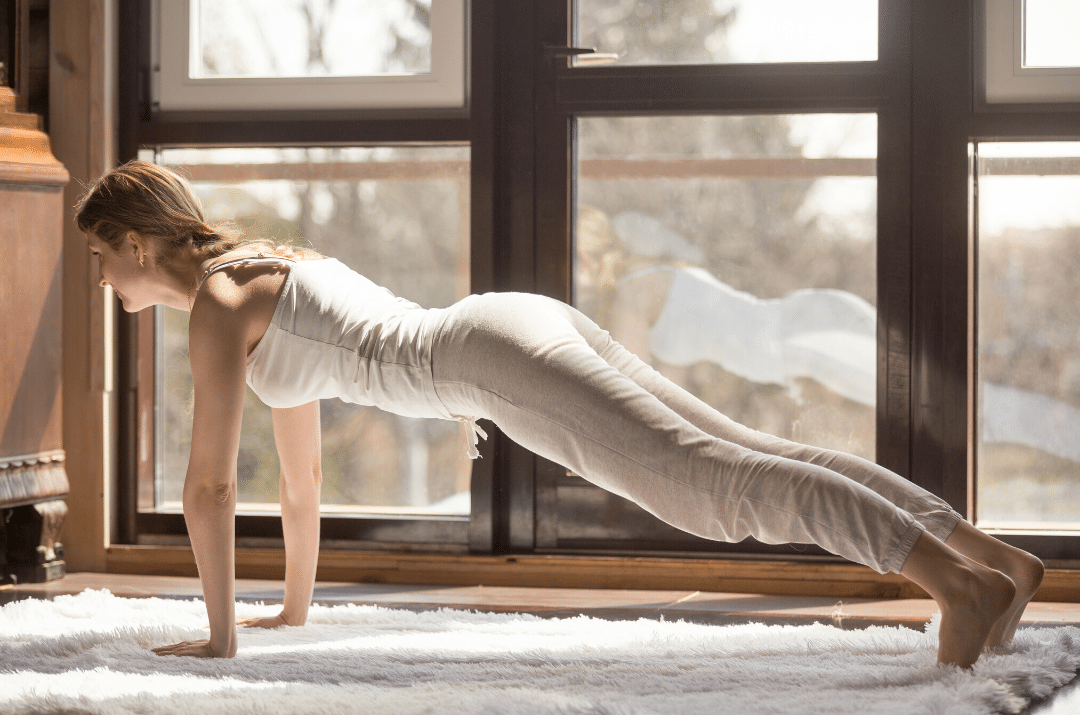
Plank pose is an excellent yoga pose for reducing lower back pain because it helps strengthen the core. This is another pose, however, to come out of immediately if you feel more back pain than when you started.
To perform this exercise:
- From Downward-facing Dog (above), ripple forward so the body is in one, straight line with the legs extended long and the wrists directly under the shoulders. Fingers should be spread nice and wide, again, bringing equal weight into each finger.
- Tuck the tailbone slightly and engage the core by drawing the navel toward the spine.
- The neck should be nice and long – you don’t want to tuck the chin or crank the head back. Take your gaze a few inches out in front of you.
- Hold for 30 seconds, eventually working up to a minute hold. Don’t forget to breathe!
6. Sphinx pose
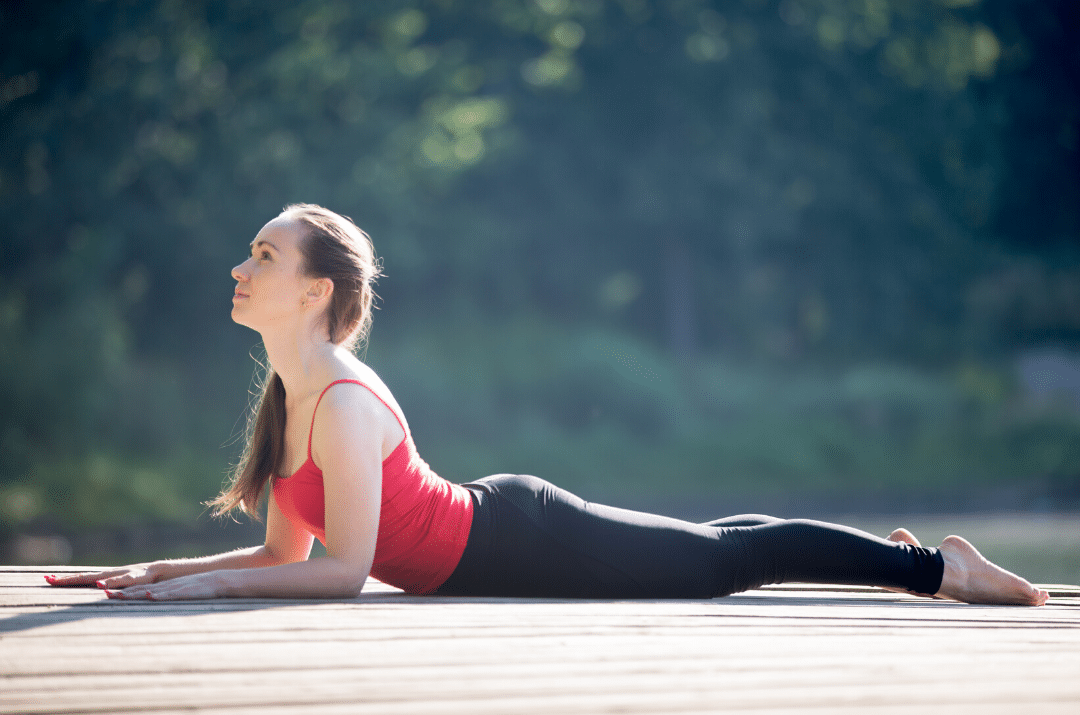
This is another pose that strengthens the core while bringing relief to the lower back.
To perform this exercise:
- Lower down onto your stomach and take your feet about hip-width apart to start.
- Bring the forearms onto the floor with your elbows directly underneath the shoulders, chest and crown of the head lifting toward the ceiling.
- If you feel any strain on the low back, take your legs out a little wider. If you still experience pain, come out of the pose entirely.
7. Standing forward bend
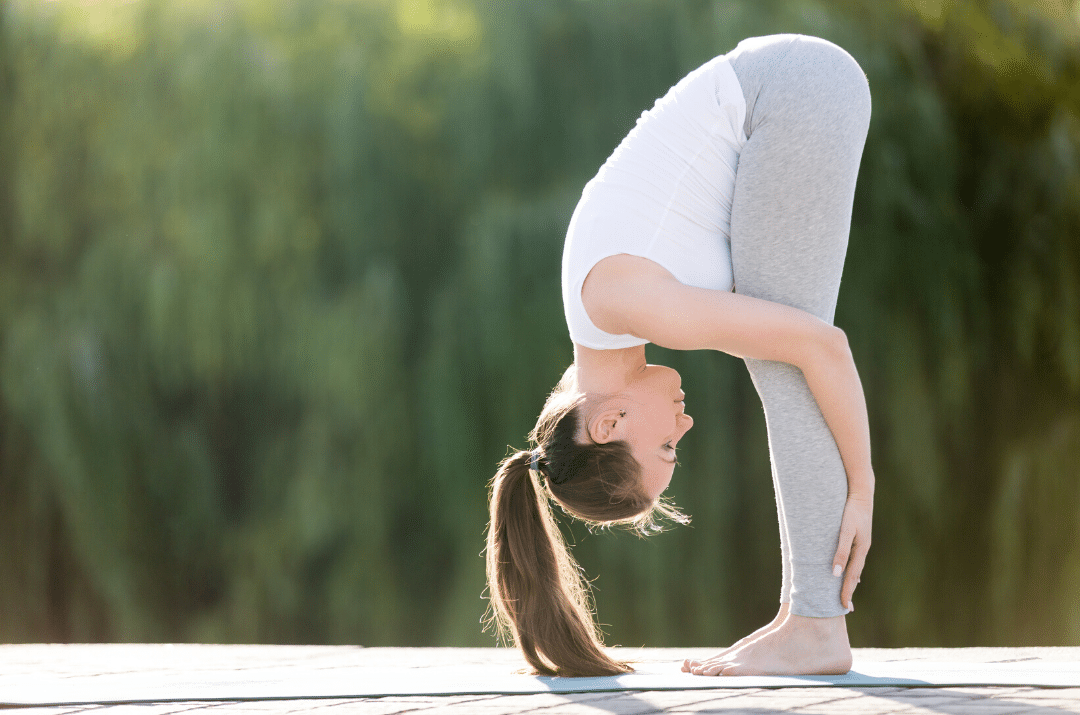
Standing Forward Bend is a simple posture that brings strength and flexibility to the spine, as well as releases any tension you may be holding in your low back.
To perform this exercise:
- Begin by standing upright, feet hip-width apart.
- Tuck the chin in toward the chest as you begin to roll all the way down into a forward fold position. Lift the tailbone toward the sky as you reach the crown of the head toward the tops of your feet.
- If your hands do not reach the ground, Reither bend your knees until they do or take one hand to opposite elbow, letting the weight of your head bring your body forward even more.
- Hold for five to seven breaths before slowly curling your way back up to standing.
8. Triangle pose
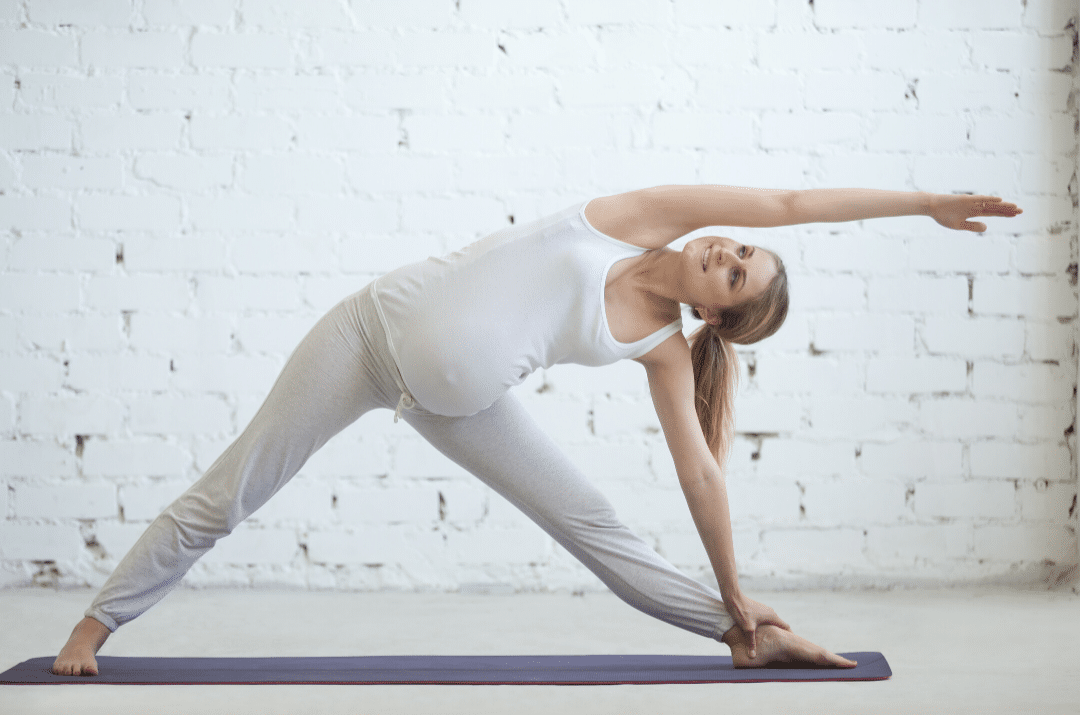
This is another standing posture that can not only help relieve low back pain, but works to strengthen the core and the legs, while opening up the hips.
To perform this exercise:
- Standing either at the top of your yoga mat or with your feet together, take a big step back with your right foot. There should be about three to four feet between your feet.
- Your left foot should be pointing straight ahead, and your right foot should be at a 45-degree angle, with the right toes pointing toward the top right corner of your yoga mat.
- Extend your arms shoulder height, parallel to the ground, and begin to reach the left arm passed the left foot, at the same time, pulling your right hip back.
- Bend at the hip, bringing your left hand anywhere along the front of the left leg (but not the knee), or to a block or to the floor behind the leg.
- Extend the right hand toward the sky, looking up at the hand, if you can. If your feel any neck discomfort, take your gaze down to the floor.
- Hold for three to five breaths, come up to standing, and repeat on the other side.
9. Legs-up pose
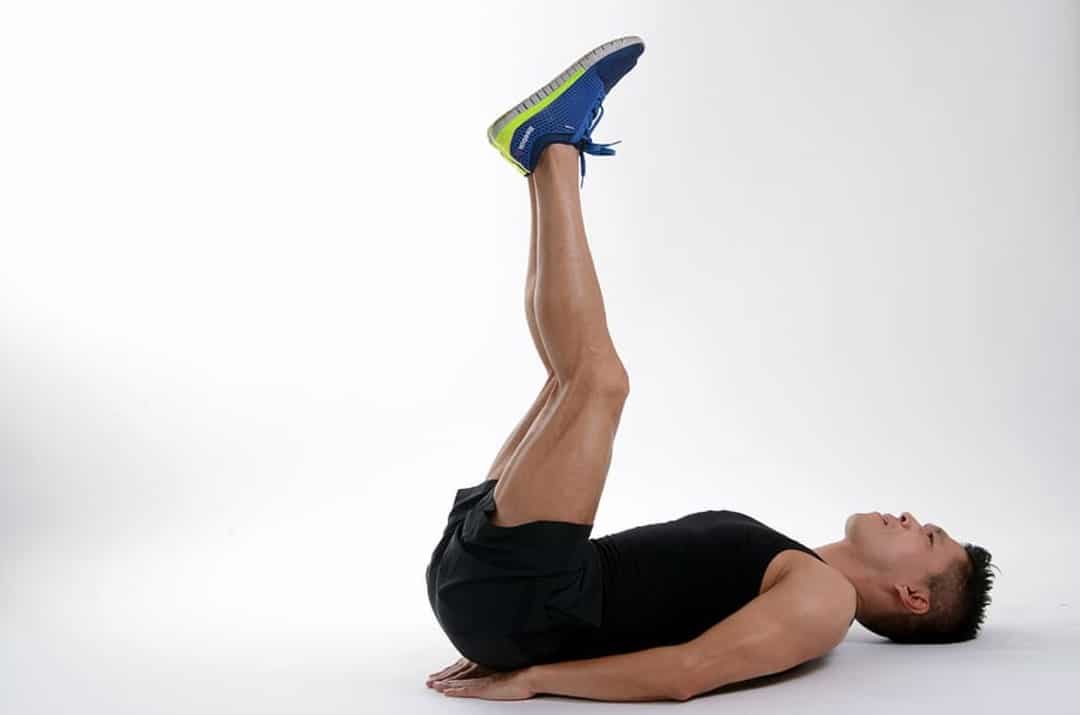
Legs-up pose is the queen of all yoga poses because it helps bring relief from so many issues and ailments, one of them being lower back pain. You can raise your legs in the air or lean them against a wall if you need support when you begin the pose. This pose feels great with a folded blanket (or two) placed under the low back. But it’s completely up to you, so use what feels best for you and your back.
To perform this exercise:
- Sit either on the ground or on your supports with your right hip facing the wall. As you lie back, you want to swing your legs up onto the wall.
- You don’t need your seat to be right up against the wall, but you don’t want your legs to be at an extreme angle either. This pose should feel comfortable.
- Take a slight bend in your knees and allow the feet to relax. Allow your legs to feel heavy in their sockets.
- Either extend the arms out shoulder height or allow them to rest gently at your sides with the palms facing up. The neck should be nice and long.
- Close your eyes and hang out in this pose for up to fifteen minutes.
Try Yoga with CBDMEDIC Pain Relief Ointment or Cream
In addition to yoga for lower back pain, another great way to find relief is by applying CBDMEDIC’s Back & Neck Relief Ointment. The addition of a pain relief ointment or cream may even help you deepen your practice.
Our ointment is loaded with all-natural ingredients, namely camphor, and menthol. These natural compounds, when applied to the skin, cause a cooling sensation that distracts the pain signals in the brain for relief. Moreover, emollients such as jojoba seed oil, THC-free hemp oil, and cottonseed oil blend our ingredients together while also nourishing the skin.
No matter what, we invite you to try yoga poses for back pain as well as natural products and exercises to help you get the relief you need and deserve. We invite you to let us know which exercise helped you find relief the most.
thank you for posting, very helpful. would suggest that you include more diversity of yogis. sorry for being negative but i’ve become more aware of the need for more inclusion and i know that u strive for the same.
Greg
Thank you for your comment, Greg. We try to diversify our images when possible. As we expand, we hope to gain a wider database of more inclusive images. We hope you enjoyed the yoga asanas nonetheless.
Love all the poses they really have a great impact on my back. Even though I am not not there yet able to do all poses yet.